How to Install Standing Seam Metal Roof
Standing Seam Metal Roof
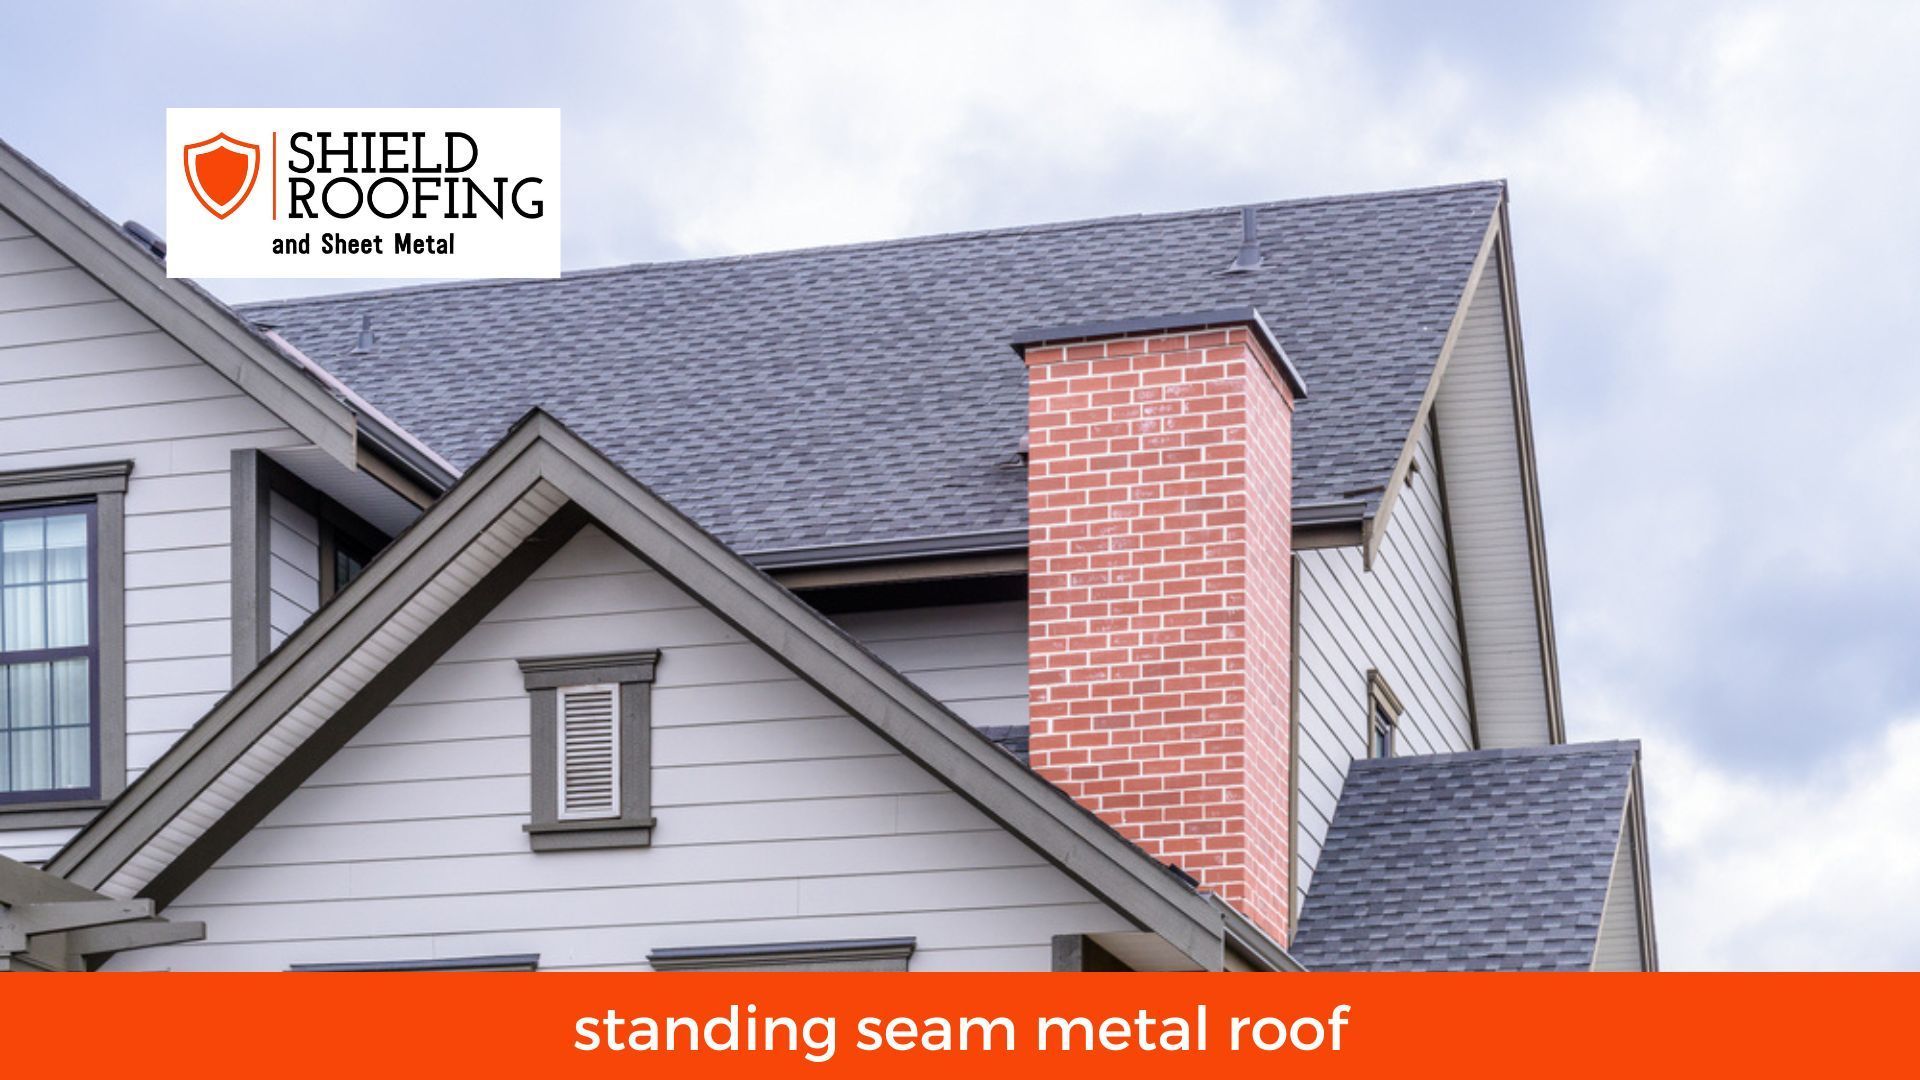
If you're looking for a durable and stylish roof, consider installing a standing seam metal roof. In this post, we'll walk you through the basics of installing a standing seam metal roof, so you can make an informed decision about whether or not this type of roof is right for your home. Let's get started.
Tools You will Need for the Job
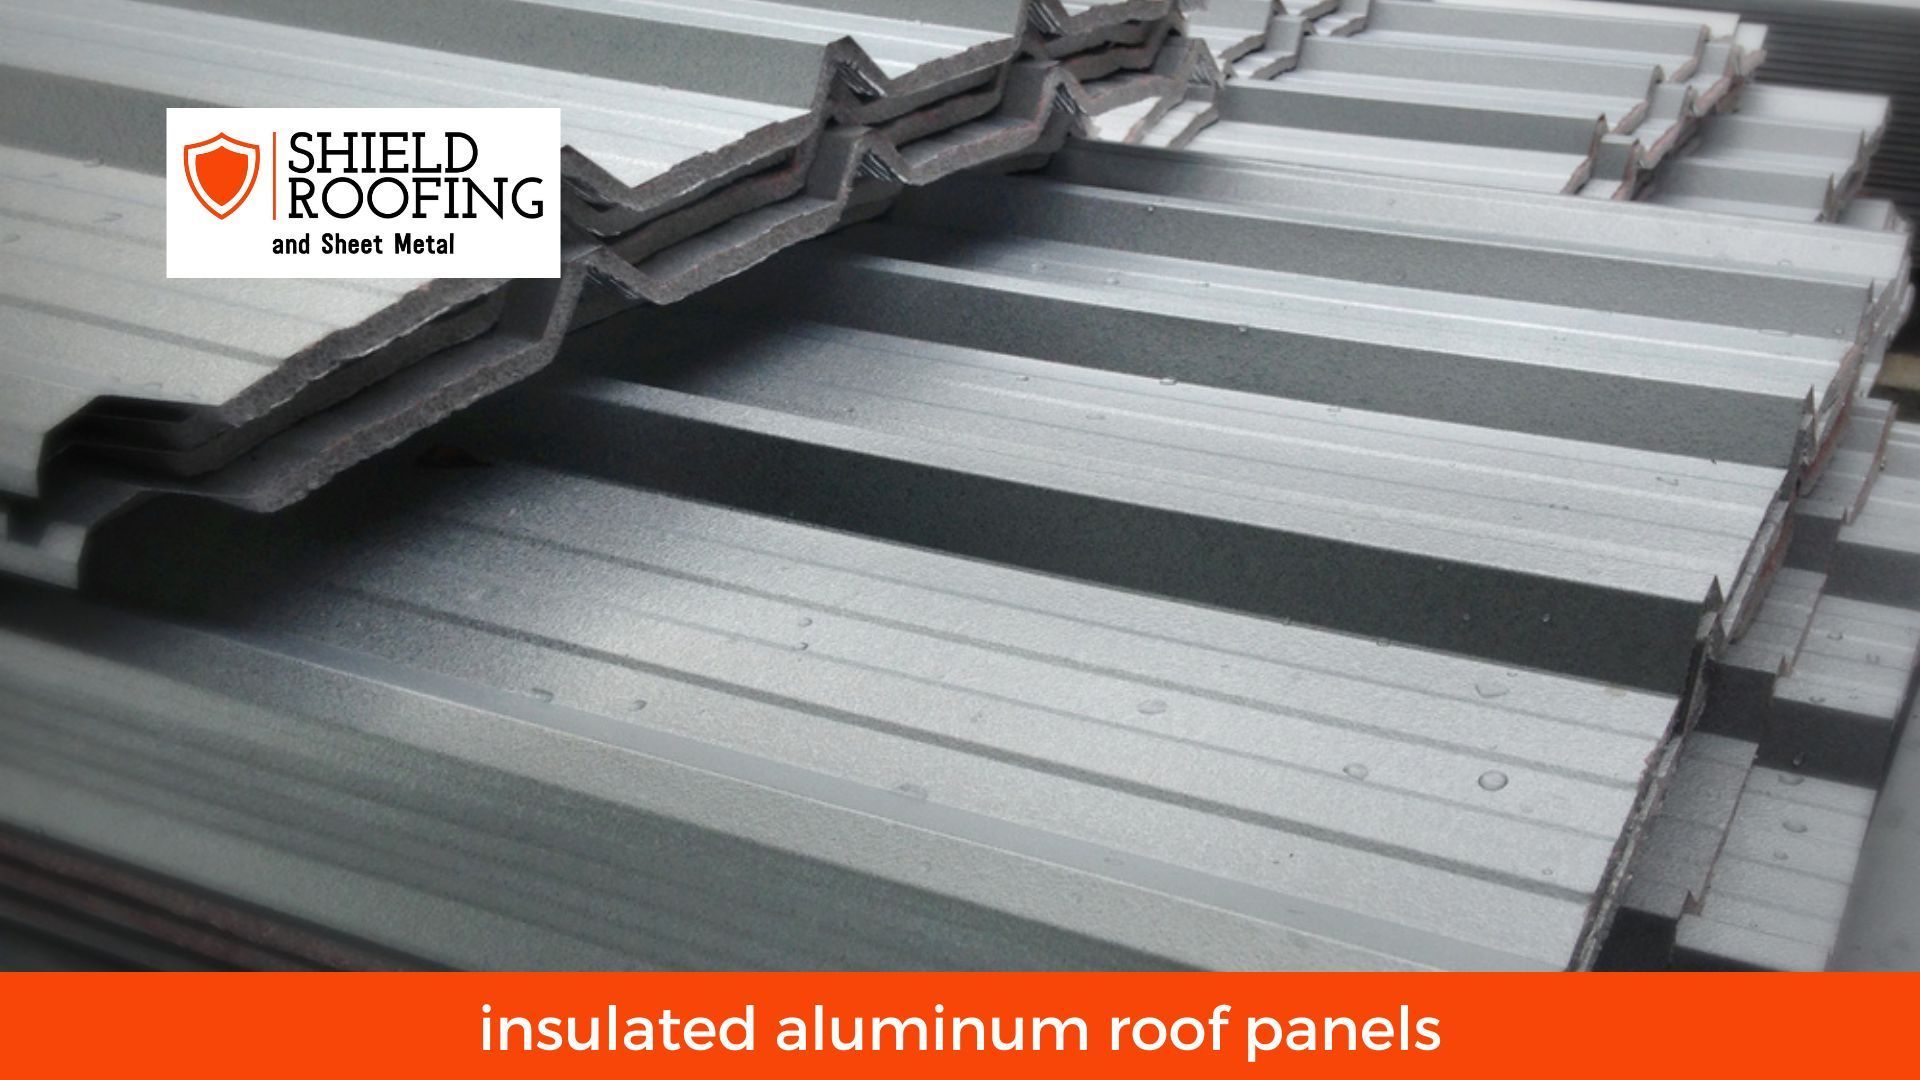
When it comes to standing seam metal roofing, the right tools will make all the difference in the quality of the job. A sturdy ladder is essential to reach up and check the standing seam metal roof and identify potential problems. A set of basic tools such as a level, chalk line, hand seamer, tin snips and various-sized drill bits should also be part of your toolbox. As well as joining standing seams together with standing seam clips or one-piece standing seam action clips, you may need special crimp sealers for standing seam applications. Remember safety equipment, too - always wear protective clothing such as gloves and safety glasses for protection. With this essential equipment, you'll be able to tackle your standing seam roofing project confidently.
Safety Precautions to Take
Seam metal roofs are an excellent option for any building looking for a reliable, long-lasting roof. However, taking the necessary safety precautions when handling these materials is still important, especially when working at heights. No matter what kind of project you’re working on, ensure you always use the right guardrails and wear the proper safety equipment. Additionally, ensure that the supporting structures can safely withstand both the weight of the material and any external forces like extreme weather conditions or seismic activity. Following these precautions will help keep everyone on site safe while ensuring your seam metal roof is properly installed and will provide years of protection.
Step by Step Guide on How to Install the Roofing Panels
Installing standing seam metal roofs can seem daunting, but the process is quite straightforward! First, you'll start by laying the panels and attaching them with clips. Afterwards, use a pneumatic nailer to fasten the roofing panels securely in place - make sure to wear protective gear for this step! Finally, seal any seams and edges with additional fasteners, adhesive caulk, or sealant. With these steps in mind and patience, standing seam metal roofs can easily be installed in residential and commercial buildings.
How to Seal and Finish the Installation
If you have recently installed a seam metal roof on your home, you will likely want to learn the best methods for sealing and finishing the installation. You must follow all the necessary steps, or you may face costly problems in the future:
- Clean away any dirt or debris from the standing seam metal roof's surface and ensure it is completely dry.
- Apply a thin sealant layer along all exposed seams to protect them against water damage.
- Use acrylic latex paint to ensure that your seam metal roof retains its beauty and durability for many years.
Sealing and finishing your standing seam metal roof correctly will provide peace of mind that your investment is secure.
Conclusion
Installing roofing panels is an intensive job requiring safety precautions and the correct tools. Use the step-by-step guide provided in this article to complete your installation project successfully. If problems arise while working on your roof, troubleshoot quickly and effectively to avoid further complications. Once you have finished installing your roofing panels, be sure to take the time to properly seal and finish it so you can rest assured that no water will get through! Installing roofing panels can be hard, but with the right preparation and tools, it can also be rewarding. If you have any questions or concerns about starting your installation project, don’t hesitate to contact us. We’d love to help and watch as your new roof comes together piece by piece.
You might also like